
Pickling walnuts
Nutty cuisine for the brave
There’s nothing quite like presenting a plate of home-made pickled walnuts to separate the lions from the lambs among your dinner guests. I served mine for the first-time last week and they did a wonderful job, first rendering the table silent and thoughtful for a considerable time and then as a potent and divisive talking point. Pickled walnuts are one of those weird delights that have somehow come to define our national cuisine without anyone in the UK having really eaten them. They are an eccentric tradition of the English kitchen and the pickling process isn’t for the faint of heart (taking several weeks and staining pretty much everything in your kitchen). To any experimental and courageous chef who thrives on a culinary challenge, I would highly recommend them! For a quick recipe summary scroll to the bottom, but I hope you will find my honest notes on the process useful. Forewarned is forearmed.
The concept of a walnut tree sounds poetic: a tree to dream beneath, fruitful and voluptuous. The reality (at least in a small garden) is very different. Our walnut squats at the end of the garden blighting the ground beneath it as the leaves and roots exude juglone, a chemical that kills off many plants and prevents seeds from germinating.
Still, the tree is festooned with green fruit in early summer and I told myself that a harvest of homegrown walnuts would be pleasure enough to mitigate its’ other qualities. How wrong I was. For starters, those nuts seem to disappear off the tree faster than a box of Quality Street on Christmas day, secretly snaffled by covert visitors. Secondly, what nuts are left make a disappointing harvest. There’s nothing like a home-grown tomato, warmed by the sun, and biting into a ripe garden apple can feel positively biblical. Do home-grown walnuts knock the bagged kind out of the park? Not really. After gathering up the remaining blackened, rotting fruit last year, I cracked them open to find a measly handful of walnuts which tasted like fairly average walnuts. That tree’s days were numbered.

Arthur and Toby help with the harvest
This year we decided to give it one last chance: what better way to get a bumper harvest than by pickling the whole fruit before the squirrels got to them. The first and most crucial step is to pick the walnuts in good time, before the shell within them has started to harden. I picked mine in the second week of July which I can tell you, with hindsight, was a bit too late. You want to be able to lance the fruit with a kitchen skewer, without hitting the resistance of the developing shell. It’s worth checking this on both axes (ie across the fruit’s fatter and indented sides) because I thought I checked this pretty well but in the end, had quite a few shells forming by the time my fruit were pickled (the shells continue to develop after the nuts are picked). Ideally, the second half of June would give you the perfect trade-off of ripened nuts without any shell.
Every fruit needs to be pierced a couple of times with a fork. It is worth pausing at this juncture to enjoy what will be the last pleasant moment in the entire process. Savour the delicious and surprisingly resinous, pine smell that they exude. Also, notice the small quantity of brown stain that appears on your fingers (or wear rubber gloves). This is a gentle sign of what is to come. Then you pop all the fruit into a stainless-steel pan or a big bucket, cover with brine. This heady mix is then left to fester for two week, after which they begin to turn a mottled brown.

Irresistible. Walnuts after their first week of brining
The nuts now need to be left out in the sun for a few days to blacken (in a chemical process started by the salt). It’s worth bearing in mind that anything you lay them on will be ruined. Plates will be stained with black dots, baking trays will rust from the salt. After two weeks of brilliant sunshine, it began to rain just as my walnuts were ready, so I left mine in the brine for a further few days and they then spent one heavily overcast day outside, but still they seemed to blacken pretty well. I suppose being a classic British recipe, the requirements of sun drying are very different to those for, say, tomatoes in Italy.

Sun blackened walnuts ready to pickle (the white is residue from the salt rather than anything more sinister)
Finally, the hard work is over and all that remains is the actual pickling. Boiling large quantities of malt vinegar is a formidable experience and it is worth choosing the longest handled spoon you can find to avoid choking when you get too close. I also wish I had worn some sort of protective mask and goggles and approached the pan looking like a desert traveller from Star Wars, but on the plus side the acerbic cooking process leaves you looking 10 years younger.
Having poured the liquor over the nuts all that remains is to wait a few weeks (or years), and they are ready to eat. My final note of advice would be to label well and as appealingly as possible. The murky jars look like some mad scientist’s sinister collection in formaldehyde, so it’s worth marking them clearly in case they remain at the back of the cupboard for some time and years down the line, someone panics. When you put lids on the jars, it helps to add a thin layer of clingfilm to stop the acid corroding the jar tops. Whilst they might not be a store cupboard essential, they’re certainly a king among condiments. After enjoying them as a talking point at your own table, you can generously gift your remaining jars at Christmas allowing friends and family to spread the word on its remarkable flavours. Far superior to a pickled onion, pickling walnuts was definitely a worthwhile endeavour. At least having pickled so many in one go, I won’t have to repeat the experience for a decade.
Recipe for 2kg of nuts
Preparation:
Prick the green nuts sever times with a fork
Cover with water and add 225g of salt, stirring well to dissolve. Leave these for a week, then pour away the liquid and replace it with fresh water and another 225g of salt for a second week.
Drain and leave to blacken in the sun (or realistically just daylight will do) for 3 days.
Pickling:
1 litre malt vinegar
500g brown sugar
1 tsp allspice
1 tsp cloves
½ tsp cinnamon
½ tsp black peppercorns
1 tbsp fresh grated ginger
Mix the ingredients in a pan and bring to the boil.
At this point either add the nuts and boil for 15 minutes, or place the nuts into jam jars and pour over the mixture (I did this because I had left the nuts in brine for a few extra days and they were very soft and close to disintegrating. It has worked perfectly well).
Seal the jars and leave in a cool dark place for at least three weeks and ideally a few months, potentially many years.
Enjoy! Traditionally served with cheese and cold meats.

Chaenomeles
Japonica Jelly

Chaenomeles on an Edo period scroll by KANŌ Sigekata (1657-1699)
On winter walks, there are a few plants that I always find grabbing my attention and one of the best of these is Chaenomeles. It’s small, pear blossom flowers sing out at you from stark, bare branches at a time of year when everything else is a bit dour. Chaenomeles spend the rest of the year looking utterly unremarkable if not downright twiggy and unpromising, and anyone passing them in June might wonder what on earth people thought was so “superb” about them when Chaenomeles x superba was named. But the winter and early spring is their time to shine and they take full advantage of it.
This is, of course, exactly what they are trying to do. With very little else in bloom, winter-flowering shrubs have their moment in the limelight, but with limited pollinators braving the chilly weather, they have to make the most of their opportunity. Appearing when there are few, if any, leaves to contend with, the flowers seem particularly luxuriant against their bleak, bare stems, and look like they belong in an Edo period Japanese print, or on Chinese lacquer work. In fact, they are depicted on both, and our common name for these plants as “Japonicas” is a reference to their oriental origins. Chaenomeles x superba is a hybrid cross between C. japonica from Japan and C. speciosa from China and both cultures celebrated its blossom.

Chinese lacquer work screen depicting birds on a Chaenomeles bush
All of them will happily grow into a big tangled shrub if left to their own devices: impressive whilst in flower but rather forbidding the rest of the year. Training them against a wall or railings seems to do more justice to their delicate exoticism, displaying their flowers for appreciation and, more importantly, their fruit for easy picking.
I remember encountering Chaenomeles on walks as a child, and back then it was their fruit which would catch my eye more than their flowers. Weird and knobbly yellow pomes, somewhere between a large crab apple and a miniature pear, their fruit are arguably the most ‘superb’ thing of all. The genus is named from the Greek chaeno “to split” and melon “apple” based on a description by botanist Thunberg of the fruit splitting. Since then, this has been criticised as something that rarely, if ever happens, so I have decided instead that the name must have been meant as a rapturous instruction: ‘just split the fruit open’!
The moment you do their fragrance is incredible: lemony and sweet with a hint of pineapple. They smell so intoxicating you’d almost think it was a good idea to take a nibble, but raw the fruit are bitter and pithy. Luckily adding a tonne of sugar mitigates their bitterness, and their pithiness makes them a brilliant source of pectin – they’re perfect for making jelly. Since the fruit are small, you end up needing quite a few to make a good, useful quantity, and I’ve always kept a sort of urban foragers map of the Japonica hedges of our Brixton neighbourhood. Most people don’t have a first clue what to do with them and are happy enough to part with the fruit, especially if you leave a little jar of jelly on their doorstep a few weeks later.

Arty and I rescuing Japonicas off the ground in the park
Last weekend we went to a London park (which I will keep top secret) for a run-around and after we stopped for an outdoor coffee I suddenly noticed a Japonica covered in bright red blossom and last season’s fruit. Urban foraging is a noble art, and I would never pick the lumpy fruit off the branches in a public park in case some little child should wander past, see them at eye level (adults never look down and rarely look closely) and fall in love as I did. But fruit hidden on the ground I consider fair game. Twenty minutes later we were driving home with a bag of muddy fruit in the boot and the car smelling like a sweet shop.
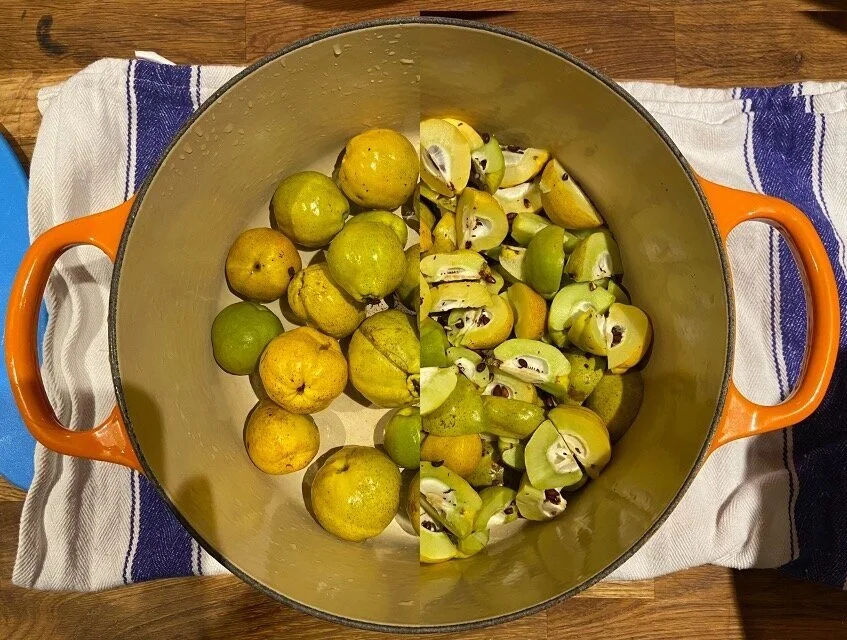
Credit to Toby for the unsolicited photoshoppery
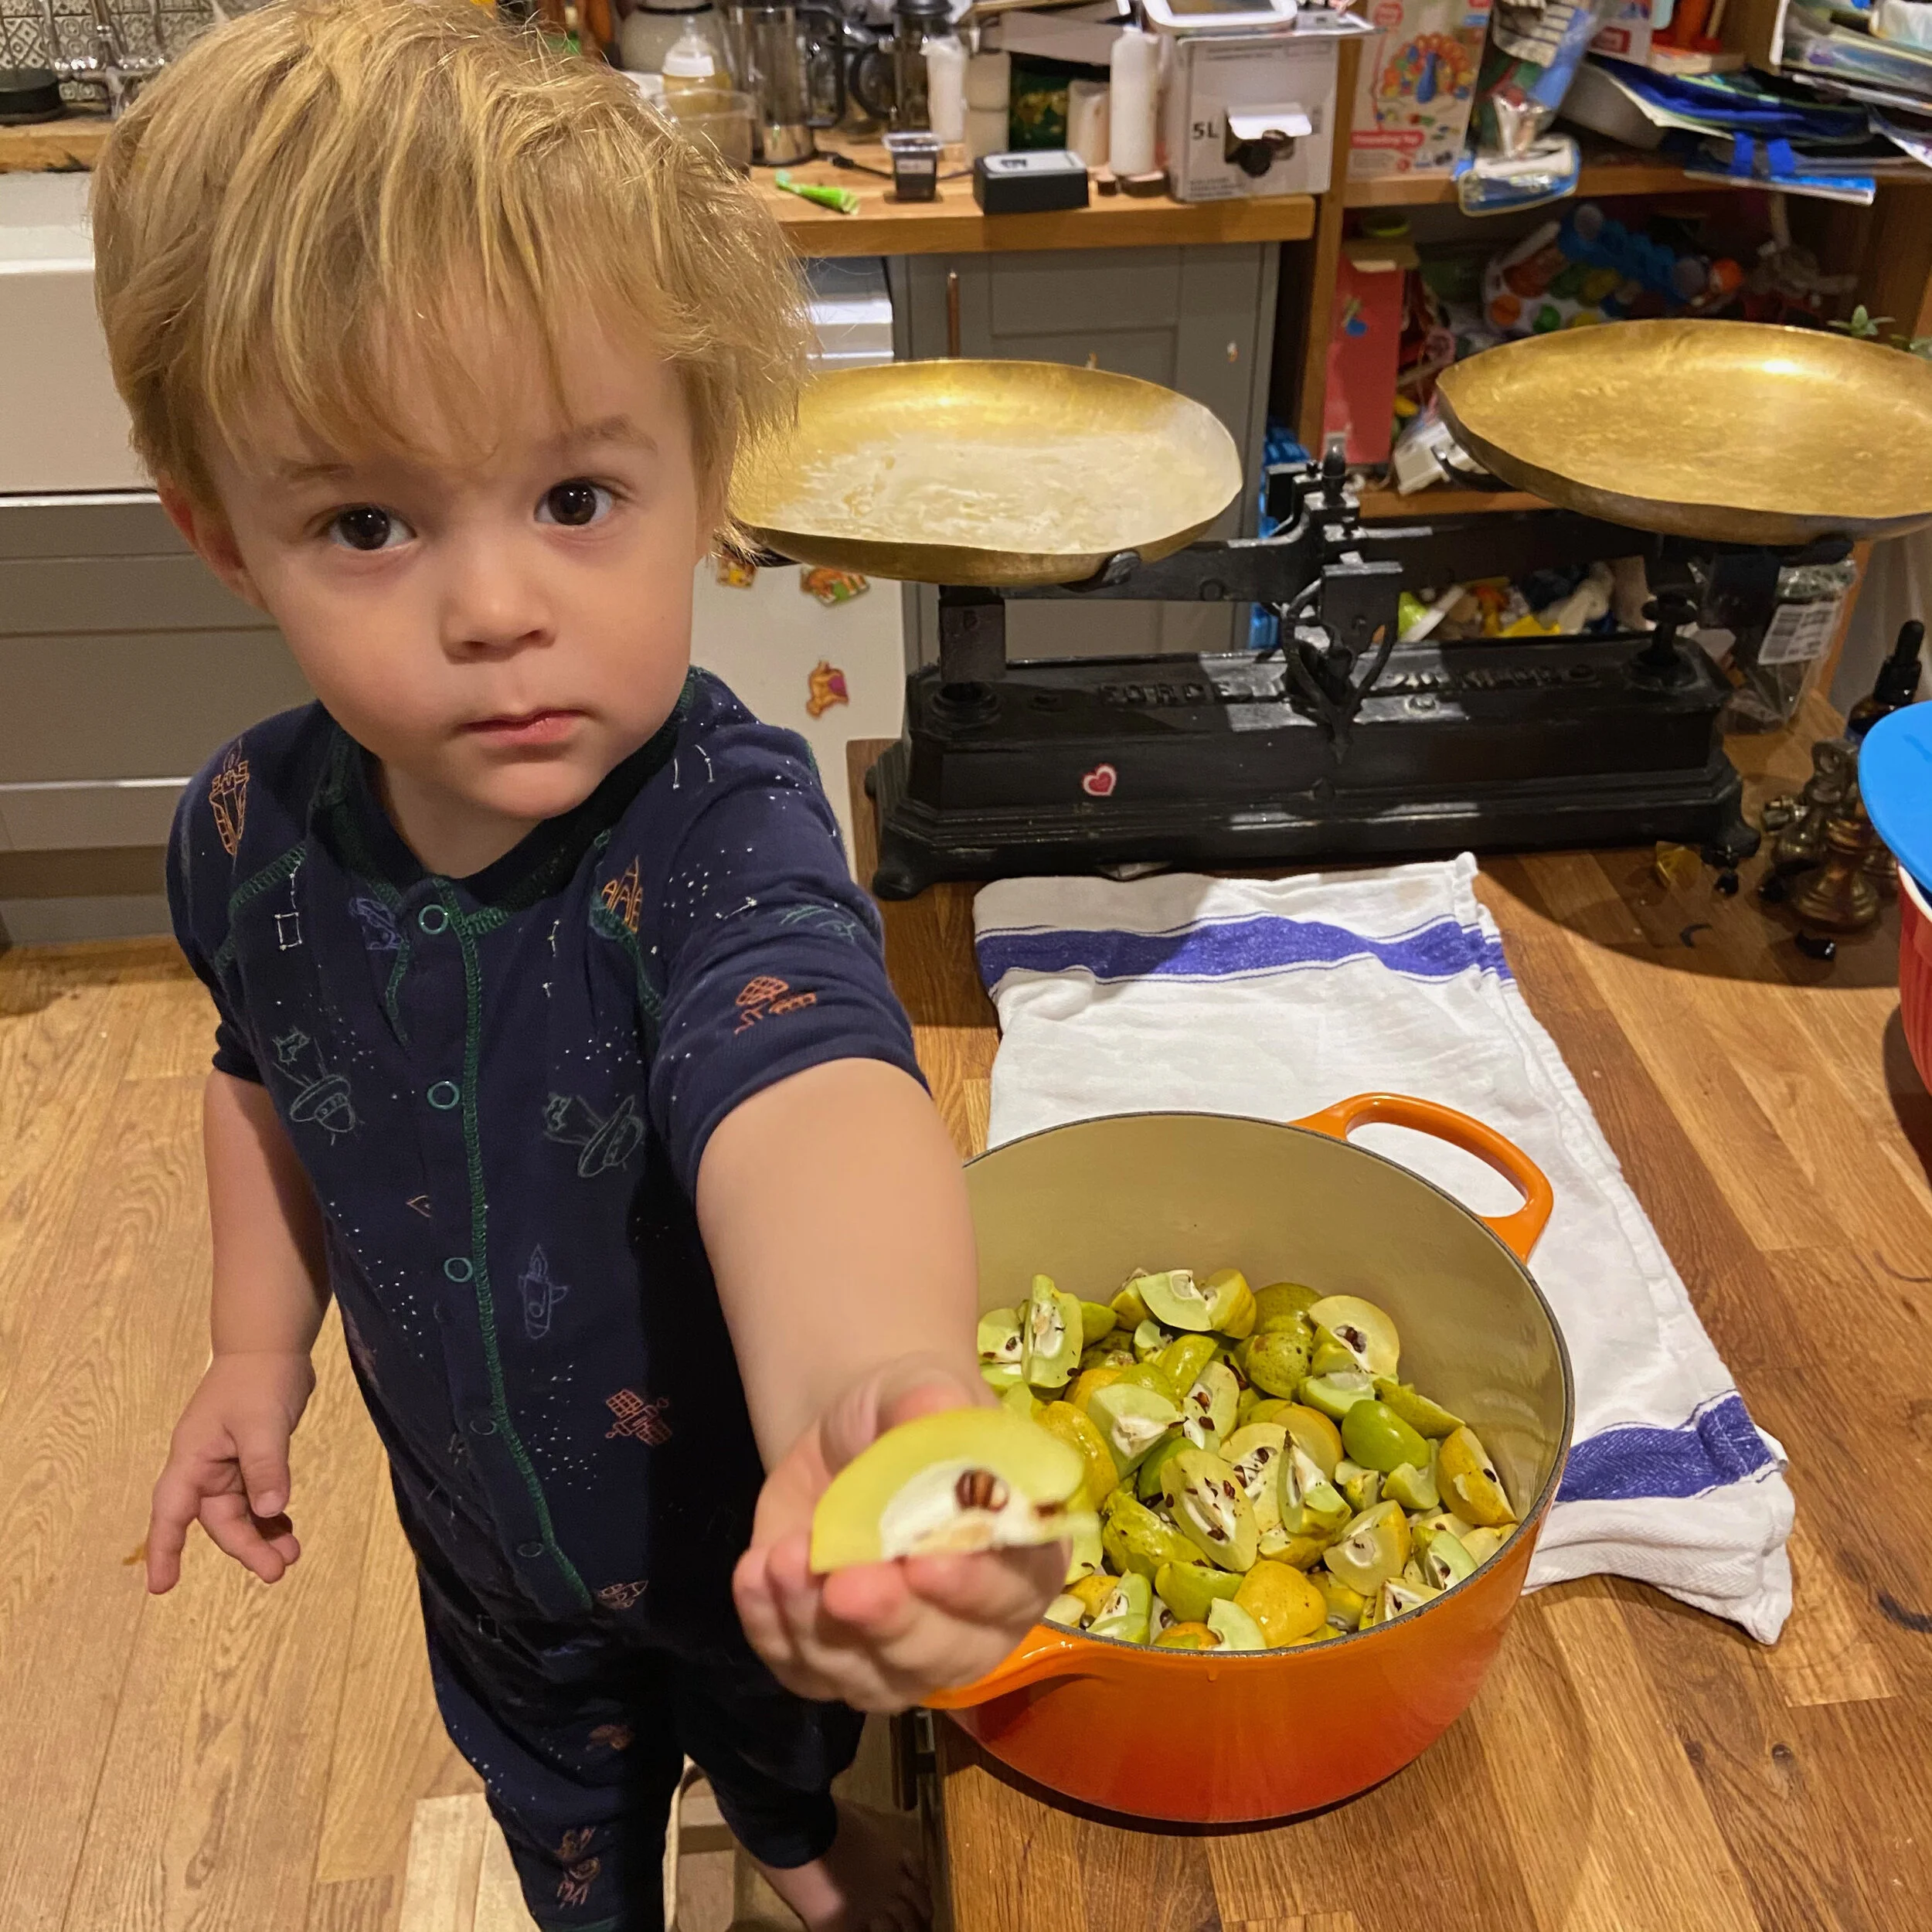
We chopped them up, covered them with water and stewed them until they were soft and pulpy. The whole mix was then suspended in a cheesecloth (or baby muslin) over a large mixing bowl overnight. Drip by drip, the resulting liquid was a rich and brilliant yellow. We measured it out into a heavy bottomed pan, adding one pound of sugar for every pint of liquid and then boiled its socks off for about 15 minutes, regularly dripping small quantities onto refrigerated plates and ho-humming about its consistency (when it starts to form a skin and hold together on the plate it’s ready).
The resulting amber jelly has a lovely lemony taste. So often food writers describe jam-making as capturing the very essence of summer; we have captured the subtle and exotic flavour of Japonicas in winter.
